Change is scary guys, I know.
I can still remember when I made the jump from editing my pics in iPhoto to Lightroom. And by editing my pics I mean just saturating them and straightening the horizon line. Who doesn’t love colorful photos, right?
I downloaded Lightroom in 2012 the year I lived at home trying to build my blog up so I could quit my job and live a glamorous travel life around the world. Professional bloggers need professional photos. I knew it was high time to make my photos look better, especially as I was just getting into the Instagram scene. For me, photography was becoming more and more important by the day.
So I downloaded Lightroom. Opened it. Stared at it for about a minute then closed it again.
I was intimidated. Those graphs, sliders, and all those words that I had no idea what they meant. Highlights? Whites? Noise? What did sound have to do with photography?!
Procrastinating, I messed around online for an hour or so then reopened it and somehow managed to import some photos. And then I got started.
Oftentimes I find that the best way to learn is to jump in feet first. The only way you will learn how to do something new is by practicing. When there was something that I didn’t know what it was, I Googled it. I watched a few free YouTube tutorials. And I learned. It became so much easier after I made that first step, and I think I owe a lot of my success with photography to Adobe, and I want to encourage you guys to take that step forward with photos.
I’ve mentioned a bit here and there before about how I edit in Lightroom with my wildlife photography, but I thought I would take the time to share with you all exactly how I shoot and edit a photo (post-processing).
And I picked my favorite subject – elephants.
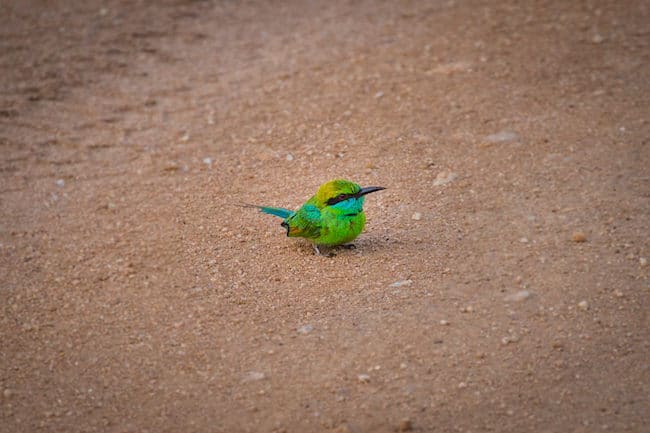
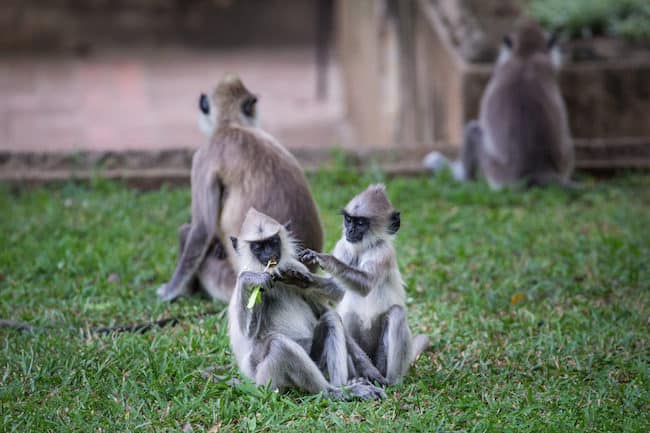
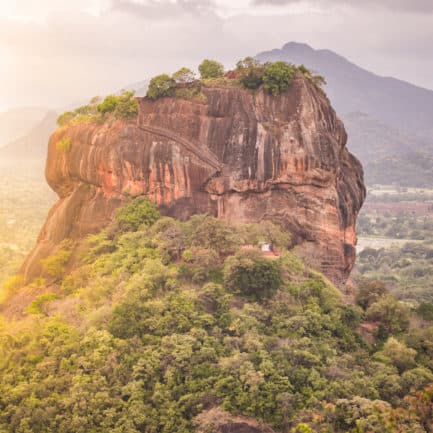
While in Sri Lanka, I spent a lot of time working on my wildlife photos and stories, both on safari and just traveling around. It’s a country brimming with amazing wildlife and you never have to look far.
Taking a photo is just part of the story. In my opinion, how you post-process a shot is when you really bring it to life. Follow along as I share the story behind this photo from start to finish, to before I click the shutter to when I publish it online.
The Before:
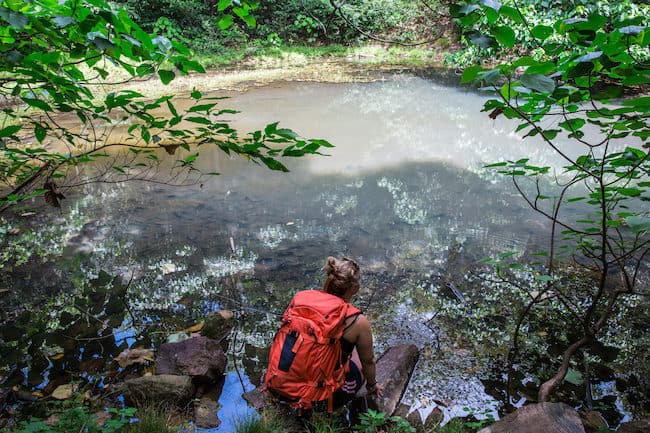
I am usually late for everything, so my day always starts with me rushing around gathering gear and trying to find coffee. I seriously can’t do anything without a morning cup, and finding decent coffee in Sri Lanka isn’t easy, especially at 5am in the jungle.
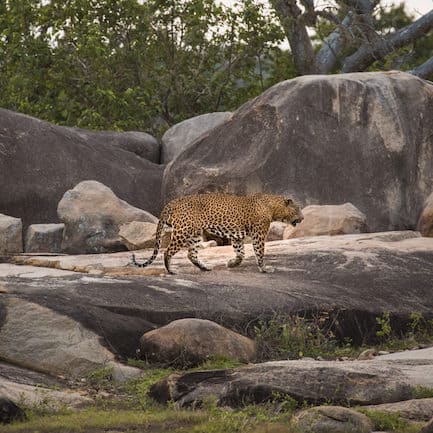
I’m usually up well before sunrise to catch the best light when I am traveling – as a landscape photographer, your day often revolves around sunrise and sunset. In Sri Lanka you can’t really get into Yala National Park before 7 am for safari unfortunately, but you are usually lined up at the gate while they sort permits. Yala National Park is famous for its wildlife safaris and leopards.
Usually the night before I check to make sure I have plenty of space on my memory cards, formatting them if I need to, wiping safari dirt off my gear and lenses, and charging a few extra batteries.
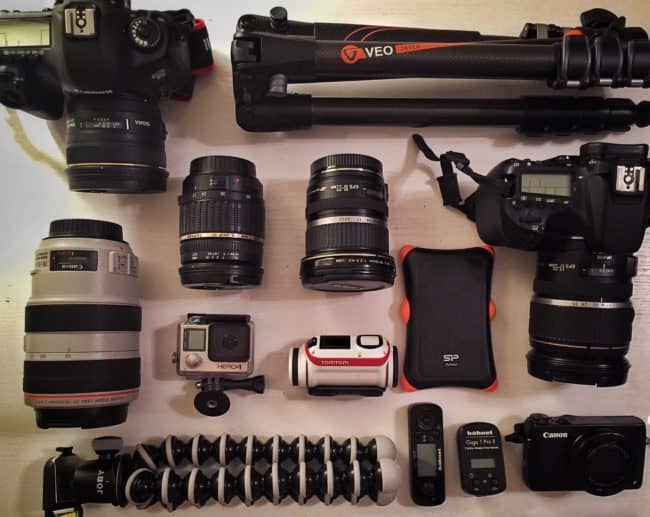
My Gear:
I’ve always been a Canon girl, and I’ve got a detailed gear post here.
Canon 5D Mark III with the EF 70-300 is my go to safari kit. If I can borrow something longer I will, but usually this one does the trick. I have the 24-70 f/2.8 lens on my Canon 70D as my back up camera in case of any wide shots, usually involving elephants coming too close for comfort around the jeep. But in general on safari you need a telephoto because you are far from the animals – a telephoto is a long lens with a zoom, like longer than average, above 70mm.
I bring about 5 spare batteries and SD cards – you want a SD card with a fast speed on it so there is no delay if you are shooting fast.
The Shoot:
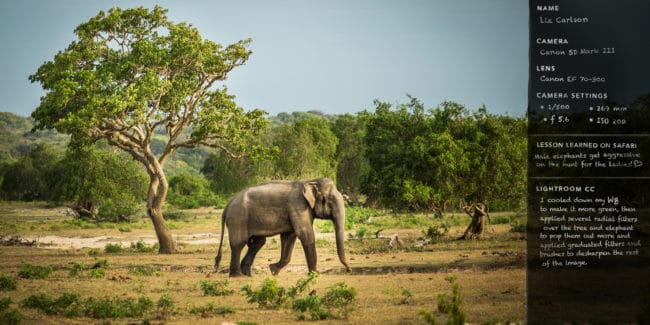
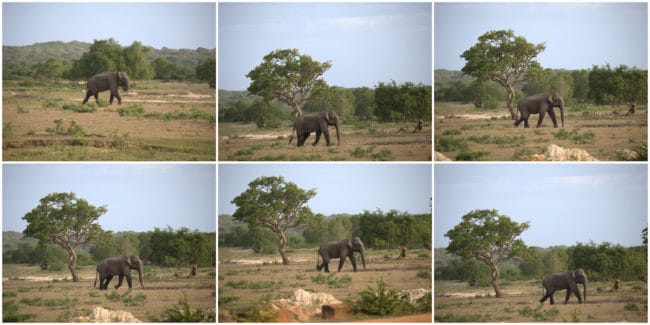
We were on the hunt tracking leopards when we saw this lone male elephant walking in the distance. I couldn’t resist, he looked straight out of the Jungle Book.
I fired off photos on a fast shutter waiting for him to line up just past the tree. I picked this shot from the group knowing in my head that I could crop it into a square on Instagram and fit the elephant and tree into a square. I didn’t take photos of all the elephants I saw in the Yala National Park because there were tons, but I loved how he was framed against that Serengeti style of tree on his own.
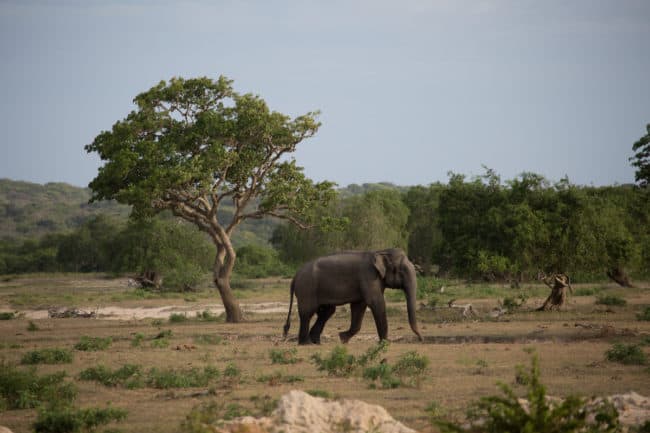
Adult male elephants live alone, away from the herd of females, and this big guy is in musth, see the wetness on his face? Watch out guys, that’s when male elephants get aggressive on the hunt for the ladies.
The Settings:
I shot this on my Canon 5D Mark III with the 70-300mm lens almost all the way zoomed in at 269mm. I shot it on a continuous fast shutter at 1/500mm which is what I usually leave my shutter speed at with wildlife.
Normally my setting on safari for ISO is 100 which is perfect for sunny days on safari. The higher the ISO, the more noise, so try and shoot with as low ISO as possible.
My f-stop was 5.6 to pull the focus onto the elephants, like a portrait.
The Edits:
I spent a long time working on editing this photo. The lighting was just horrendous when I shot it, at almost the brightest time of day so it was blown out and harsh. Not ideal but then again you don’t have much control over wildlife shots.
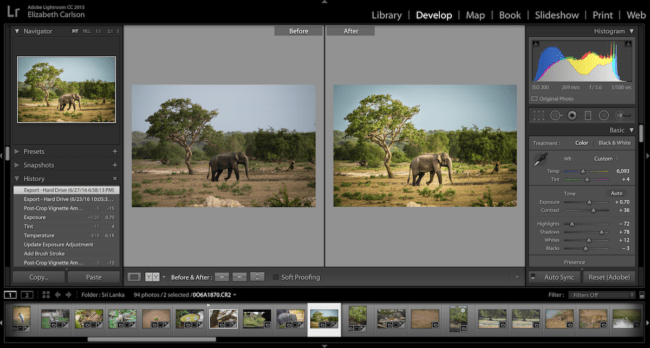
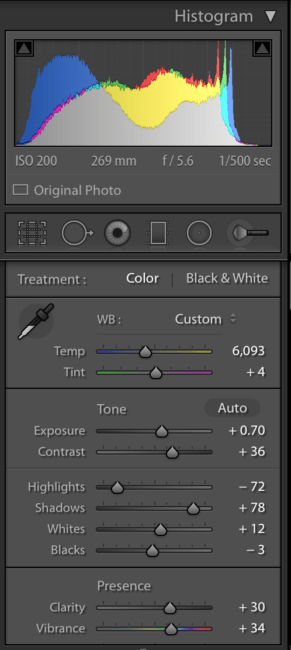
I don’t always start editing the same way, even now I play around with it until it “feels” right. This time I started by using the sliders on the right side of the image to mess with the highlights, white balance (I cooled it down and adjusted the tint to make it more green).
I then cropped the image how I wanted it to be, normally I look at the edges and the corners to see what’s there and if I want it in or out of the shot. This time there was a bit of tree leaves in the open sky on the right side of the photo and I cropped it out.
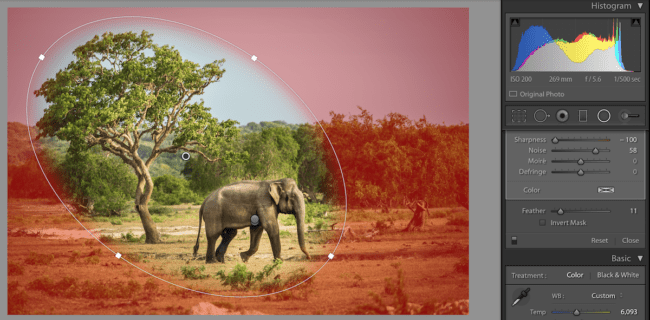
From there I added 3 radial filters, that’s the circle icon on the right side of Lightroom at the top underneath the Histogram graph. This allows you to create circles and ellipses around certain parts of the photo and just edit inside or outside the circle. Tip – click “show selected mask overlay” so that you can see which parts you are editing, and you can click “invert mask” to either edit inside or outside the circle.
My first radial filter was over the tree and the elephant, the two main points I wanted to focus on, so I inverted the mask and de-sharpened around them and darkened it a bit. The second was just over the elephant, to make him sharper and brighter, the final one was on the outside of the elephant to darken just a bit so that it draws your eye to the elephant.
I then used the brush stroke to fix bits and pieces that either needed to be lightened or darkened around the tree and elephant and added a bit of a vignette. I did a few advanced spot removals of dust spots in the photo – my camera sensor is filthy and needs a serious clean. And then boom, export.
The sharing:
Finally I wanted to take this one step further and show you what I do before posting on Instagram. That is where most of my best photography lives after all.
Once I’ve exported my photo from Lightroom, I drag the image into Dropbox – I used to just email myself my photos but Dropbox is so much easier and you can move a lot of images at once. I have the Dropbox app on my phone, and it syncs automatically, so I then download the image onto my phone from my app.
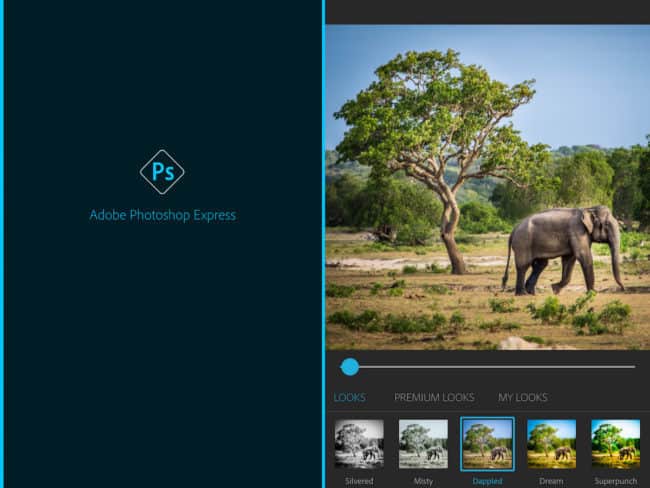
I then open the image in the Photoshop Express App which is free when you buy the Creative Cloud plan. For me, there is quite a difference when an image is viewed on a computer or in print versus a small phone screen, especially on Instagram, so I often go back and brighten and saturate a photo a bit more in the app to make it pop more on a small screen. I also crop the image here to a square and play around with filters before I finally export and upload online.
That’s when the fun starts!
The Giveaway:
I’m giving away three 1 year subscriptions to the Adobe Creative Cloud Photography plan to help jumpstart your photo editing and to inspire you to create beautiful images too! Now’s your chance to put all my tips into practice. Giveaway is open worldwide.
Entries close on Tuesday July 26th at 5pm EST // Wednesday July 27th 9am NZT.
Be sure to enter!
What do you think? Did you learn something new? Are you up for trying out Lightroom or do you already use it? What’s your work flow with photography? Share!
I use Lightroom but I need to learn how to use it better. I have an older DSLR but haven’t got past the sliders. Buut I just bought an Olympus E-M5 Mark II and also want to level up my photography haha.
My dream photography trip is your home turf of New Zealand, and I’m heading there in November (yay!). After that, far southern South America.
oh you’ll love it!
Haha I’ve done exactly the same and downloaded Lightroom, opened it and immediately closed it again due to being overwhelmed. Didn’t exactly make the most of that free trial did I?!
haha I know how that feels 🙂
I would want to go to Rio to practice my photo skills!
Woah Rio would be a great place!
I am a bit intimidated by lightroom as well, but I know I need to jump in and learn. I must go on a safari soon, or maybe to the Galapagos.
Jump in! It’s the best way to learn!